
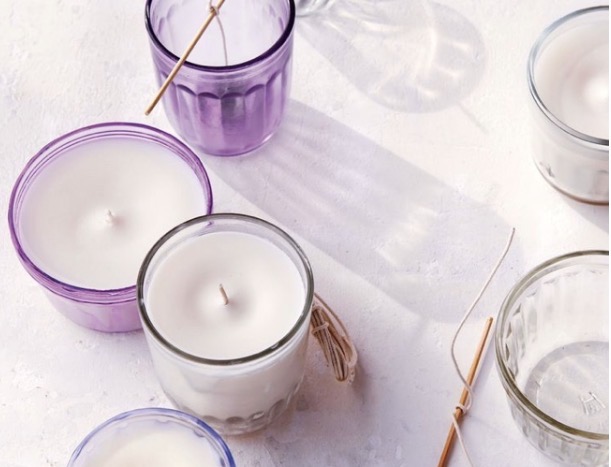
By: Silvia Cremona
Materials:
· Wick
· Mold
· Skewer
· Bucket
· Essential Oils
· Dye
· Wax
Instructions
- Coat the interior of the mold with mold-release spray or nonstick cooking spray.
- Fix a length of wick to the bottom of the mold according to its instructions (wick putty can be used here to keep the wax from leaking out; strong tape also works).
- Turn the mold over. Place a pencil, skewer, or stick across the opening of the mold. Pull the wick up the center of the mold and tie it to the stick so that it will remain taut once the wax has been poured.
- Melt wax in the microwave at 30-second intervals until fully liquified.
- Optional: Add your dye and essential oils to the melted wax to give it color and fragrance.
- Pour melted wax into the prepared mold until it is about 1 1/2 inches below the rim.
- Using potholders, place the filled mold in a cold-water bath—a bucket works fine. (This will cool the wax more quickly, but it is an optional step.) Let the mold sit for about 30 minutes.
- As air bubbles rise to the top, a small well will form around the wick. Insert a long, thin instrument, such as a wooden skewer, into the well to allow air bubbles to escape, then fill the well 3/4 full of more melted wax.
- Repeat the process again after 45 minutes, then remove the mold from the water bath. Allow the mold to cool and harden completely (up to 24 hours).
- Remove the putty from the bottom to release the wick.
- Working from the other end, gently pull the candle from the mold.
- The end that was at the base of the mold will be the top of the candle. Trim that wick to 1/4 inch and the wick at the other end (which was attached to the pencil) so it’s flush with the candle.