Materials:
- Jumbo popsicle sticks (1 per snowman)
- White paper plates or white cardstock (for the circles)
- Black cardstock/construction paper (hat + buttons)
- Orange cardstock/construction paper (nose)
- Brown cardstock/construction paper (arms)
- Googly eyes (or paper eyes)
- Glue stick + liquid glue (or hot glue with adult help)
- Scissors
- Marker (black, optional)
Instructions
1) Make the snowman “body” circles
- Cut two white circles for each snowman:
- Bottom circle: bigger
- Top circle: smaller
(You can trace cups or lids to keep them neat.)
2) Glue the circles to the popsicle stick
- Lay a jumbo popsicle stick vertically.
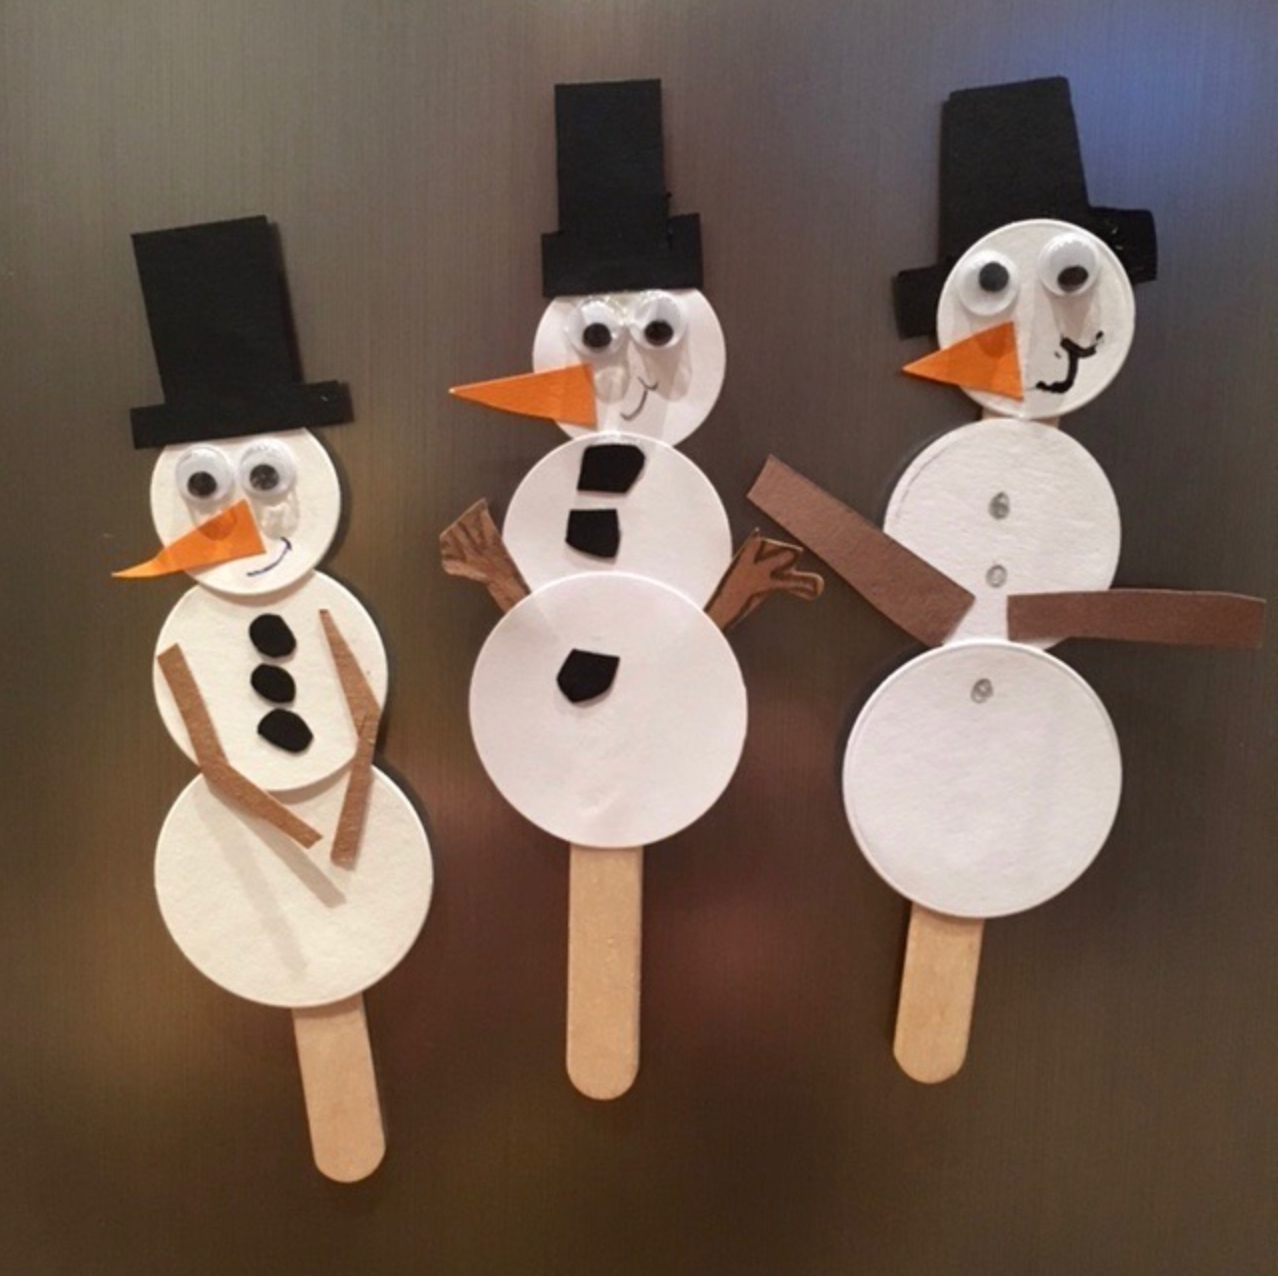
- Glue the big circle near the lower half of the stick (leave some stick showing at the bottom like the photo).
- Glue the small circle above it so they overlap slightly.
- Press and let it set for a minute.
3) Add the hat
- Cut a black rectangle (tall) for the hat top.
- Cut a thin black strip (wide) for the brim.
- Glue the tall rectangle on top of the snowman’s head circle.
- Glue the brim strip across the bottom of the hat (slightly overlapping the head).
4) Add the face
- Glue on two googly eyes.
- Cut a small orange triangle for the carrot nose and glue it under the eyes (pointing sideways).
- Draw a smile with a black marker or cut a tiny curved black piece and glue it.
5) Add buttons/scarf (pick one style)
Buttons like the left snowman:
- Cut 2–3 small black circles (or little rounded squares).
- Glue them down the front of the body.
Scarf like the middle snowman:
- Cut a small black strip and a tiny hanging piece.
- Glue it at the neck (where the circles meet).
6) Add the arms
- Cut two brown strips for arms (long and thin).
- Optional: cut tiny “finger” shapes or small branches like the middle snowman.
- Glue arms on the sides of the body circle(s).
- You can angle them up/down to give each snowman personality.
7) Let everything dry
- Leave flat for 10–15 minutes (longer if using a lot of liquid glue).
- If you want to hang them, tape a loop of string to the back (or add a magnet like the photo appears to be on a fridge).